Mastering the Elder Amourworm Battle in Black Myth: Wukong
Explore treacherous challenges and epic boss fights in Black Myth: Wukong's Webbed Hollow, demanding strategy, patience, and skill to conquer formidable foes like Elder Amourworm.
As players delve deeper into Chapter Four of Black Myth: Wukong, the Webbed Hollow region presents increasingly treacherous challenges, particularly with its optional bosses. These encounters demand careful preparation—strong armor, upgraded weapons, and strategic foresight. Among them, the Elder Amourworm stands out as a formidable foe. Lurking in the shadows after a major battle, this oversized insect isn't just a scaled-up version of its smaller kin; it packs devastating poison attacks and unpredictable moves that can overwhelm the unprepared. Missing this boss is nearly impossible given its placement, but overcoming it requires more than brute force; it tests a player's patience and adaptability in the game's unforgiving world.
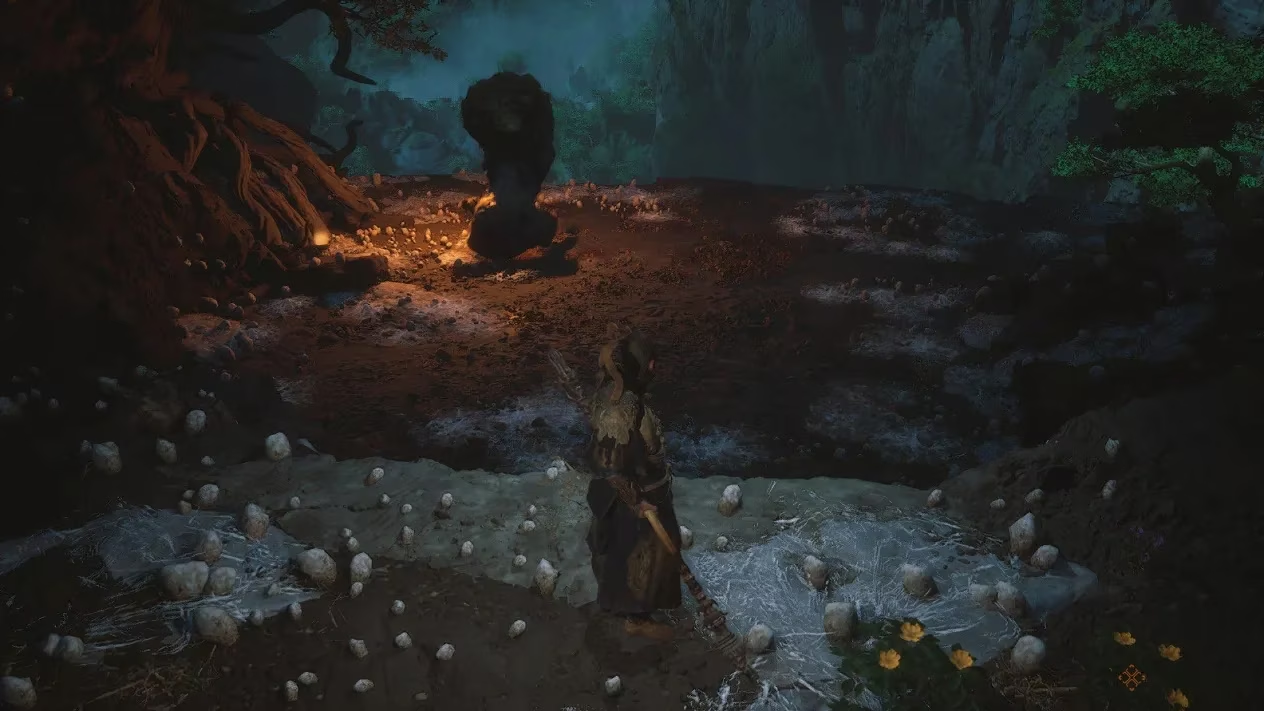
Finding the Elder Amourworm involves a sequence of steps that begin after defeating The Second Sister. Players must leap into the pit ahead of her arena, leading to The Verdure Bridge Shrine. From there, head left across a creaky wooden bridge and follow a narrow path flanked by eerie rock formations. Soon, two chattering lanterns appear, dangling near a cave entrance—approaching them triggers a cutscene where one of The Second Sister's siblings hints at hidden treasures inside. Venturing in reveals multiple chests stuffed with crafting materials, medicines, and the coveted Legendary Xiang River Goddess Gourd. But the real danger lies deeper: at the cliff's edge, the Elder Amourworm awaits, poised for confrontation. It's a classic setup—lure players with loot, then ambush them with a brutal fight.
The battle kicks off with startling aggression, and understanding its attacks is crucial. Elder Amourworm's moves are deceptively slow but inflict heavy damage, often coating the arena in poisonous sludge. Players should stock up on Antimiasma Powder Medicine and boost poison resistance early—ignoring this can turn the fight into a health-draining nightmare. Here’s a breakdown of its key assaults and how to counter them:
| Attack | Description | How To Avoid |
|---|---|---|
| Web Spray 🕸️ | The boss sprays webs that immobilize you briefly; if not broken, it follows up with a deadly Instant Headbutt. | Dodge sideways; if caught, mash dodge to break free, then evade the headbutt. |
| Instant Headbutt 💥 | A linear charge where the boss reels back and lunges, dealing massive damage and knocking you down. | Predictable trajectory—dodge left or right while staying mobile. |
| Jumping Slam 🦘 | Elder Amourworm leaps high, slamming its body down with crushing force. | Time your dodge to the moment it lands, rolling away from the impact zone. |
| Continuous Poison Spray ☣️ | It spews poison from its tail in a sustained stream, covering a wide area. | Sprint laterally (left or right) until the spray ceases—never stop moving. |
| Poison Spitting 💦 | Similar to Web Spray but shoots poison bursts from its mouth; can chain multiple times. | Dodge precisely as projectiles near you; watch for subtle animation cues. |
| Body Slam with Poison 🦵 | Repeated slams combined with tail poison sprays, creating hazardous zones. | Dodge repeatedly backward; avoid closing in during this sequence. |
| 5-Hit Headswing Combo 🔄 | Swings its head four times before smashing down, sometimes adding poison sprays for chaos. | Wait out the combo, dodging each swing at the last second; attacking mid-combo risks heavy hits. |
Defeating this monstrosity isn't about speed—it's about rhythm and restraint. Rushing in blindly almost guarantees failure; instead, let the Elder Amourworm exhaust its attack patterns before striking. A smart opener involves using the Immobilize Spell to freeze it momentarily, then unleashing the Red Tides Transformation for burst damage. Reapply Immobilize as soon as it cools down to control the pace. But beware: the boss can feign vulnerability, pretending to stagger before crashing down in a surprise attack. Stay alert and never assume it's defenseless. For survivability, Gal Gem Soak boosts poison resistance, and Antimiasma Powder Medicine cures the ailment quickly. Investing Sparks in the Bane Mitigation Talent is wise for poison-heavy builds. Interestingly, the Golden Armor set can absorb physical hits, making mistakes less punishing. Alternatively, equipping spirits or gourds that enhance abilities while poisoned can turn a weakness into a strength—ideal for this toxin-filled tussle.
Victory brings immediate rewards: the Proto-Amourworm Key Item, one Refined Iron Sand, and 1456 Will. But the true prize requires extra legwork. Head to the Zodiac Village via the Ruyi Scroll and deliver the Proto-Amourworm to Chen Loong. After resting at a shrine, feed it three Rice Cocoons—found by destroying sacks scattered throughout Webbed Hollow. This nurturing process unlocks the Elder Amourworm Spirit, a game-changer for Chapter Four. This spirit significantly boosts critical hit chance when poisoned, synergizing perfectly with the area's venomous enemies. Even better, transforming into it lets you spray poison pools on the ground, turning the tables on foes by inflicting the same status ailment that once plagued you. It’s a poetic twist—using the boss’s power against its kin.
In the end, the Elder Amourworm encounter encapsulates what makes Black Myth: Wukong’s optional bosses so rewarding—they demand mastery of mechanics while offering unique tools for progression. The fight pushes players to respect enemy patterns and leverage environmental resources, transforming a chaotic skirmish into a dance of dodges and counters. With poison being such a pervasive threat in later stages, securing this spirit feels less like an optional extra and more like essential preparation. But beyond the loot and strategy, it raises a broader question: how do you balance high-risk challenges with satisfying payoffs in modern action RPGs? What’s your take—should every tough boss fight guarantee transformative rewards, or is the struggle itself the real treasure?